 how-to
How to Prevent Soil Erosion During Construction
Last Updated: November 10, 2026
Quick Summary
Prevent soil erosion during construction by mapping where water flows and where bare ground sits before work begins, then installing perimeter controls such as silt fences, straw wattles or compost socks before grading or tear-off starts. Cover exposed ground with mulch, erosion-control blankets or fast-growing seed, and inspect and repair controls after every significant rain.
- Map drainage paths and low points before any equipment moves onto the lot.
- Install perimeter controls before grading or tear-off begins, not after the first storm.
- Bury silt fence at least 6 inches deep in a compacted trench.
- Clean out sediment once it reaches about one-third of a barrier's height.
- Confirm whether a Stormwater Pollution Prevention Plan is required with the local permitting office.
Table of Contents
- Why Construction Sites Lose Soil and Where the Risk Is Highest
- Planning the Erosion Control Sequence Before Ground Is Broken
- Perimeter Controls: Silt Fences, Wattles and Sediment Barriers
- Soil Stabilization Techniques for Construction Slopes and Exposed Ground
- Meeting Stormwater Pollution Prevention Plan (SWPPP) Requirements
- Inspection, Maintenance and Repair Triggers for Your Controls
- Scheduling Your Next Step With a Qualified Site Team
- Frequently Asked Questions
Soil erosion during construction can wash away topsoil, clog storm drains and push sediment into nearby waterways within a single heavy rain. For roofing crews and property owners in Alabama, the same bare ground that makes a roof tear-off messy also causes trouble after the job is done. Preventing soil erosion during construction starts with knowing where soil is most likely to move and putting controls in place before the first hard rain arrives. This guide explains the practical steps, from site planning to inspection, so the work protects both the site and the property around it.
Why Construction Sites Lose Soil and Where the Risk Is Highest
Soil erosion happens when rain or runoff moves loose dirt across the site. Construction makes this worse because crews strip away plants, grade the ground and leave soil exposed for weeks or months.
Risk tends to concentrate in a few places:
- Steep slopes and cut or fill banks
- Stockpiles of dirt, gravel or debris
- Areas near roof drop zones and material staging points
- Low spots where water collects and flows fast
- Paths that vehicles and foot traffic repeatedly cross
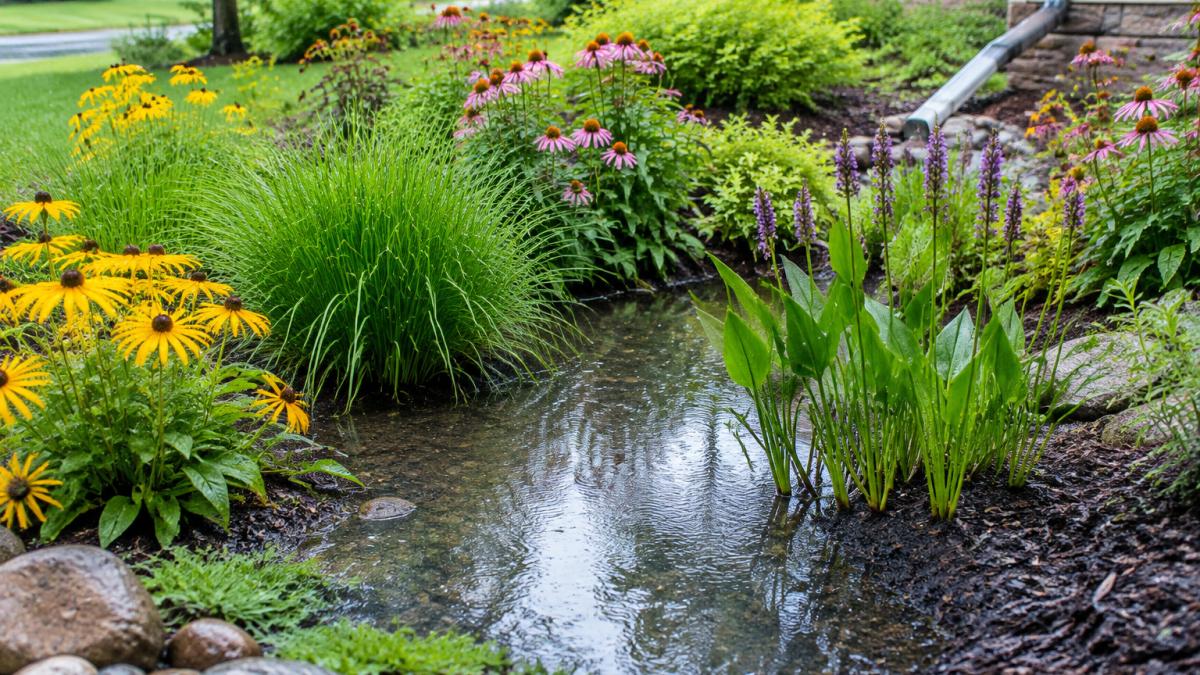
A common mistake is treating erosion as a problem for the end of the job. For plant-based options that help manage runoff alongside these barriers, see native plants that stop yard flooding in rain gardens. Sediment often leaves the site in the first storm, so controls need to be in place from day one.
Planning the Erosion Control Sequence Before Ground Is Broken
Good erosion control starts on paper. Before equipment moves, walk the site and map the water. Note where runoff enters, where it leaves and which areas will stay bare the longest.
A simple planning sequence works well:
- Identify drainage paths and low points on the lot.
- Mark areas that will be disturbed and those that must stay protected.
- Plan the order of work so bare ground is covered or stabilized quickly.
- Place perimeter controls before grading begins.
- Assign someone to check the site after every significant rain.
Doing the planning first keeps crews from scrambling after a storm has already carried soil away. For the steps that come before ground is disturbed, see key steps for residential site preparation.
Perimeter Controls: Silt Fences, Wattles and Sediment Barriers
Perimeter controls are the last line of defense before sediment leaves the property. On a roofing job they matter more than most crews expect, because tear-off debris, shingle dust, underlayment scraps and wash-down from roof surfaces all concentrate at the same downslope edges where water exits the lot. The goal is to slow runoff, spread it out and let sediment settle before it reaches a storm drain, ditch or neighboring property.
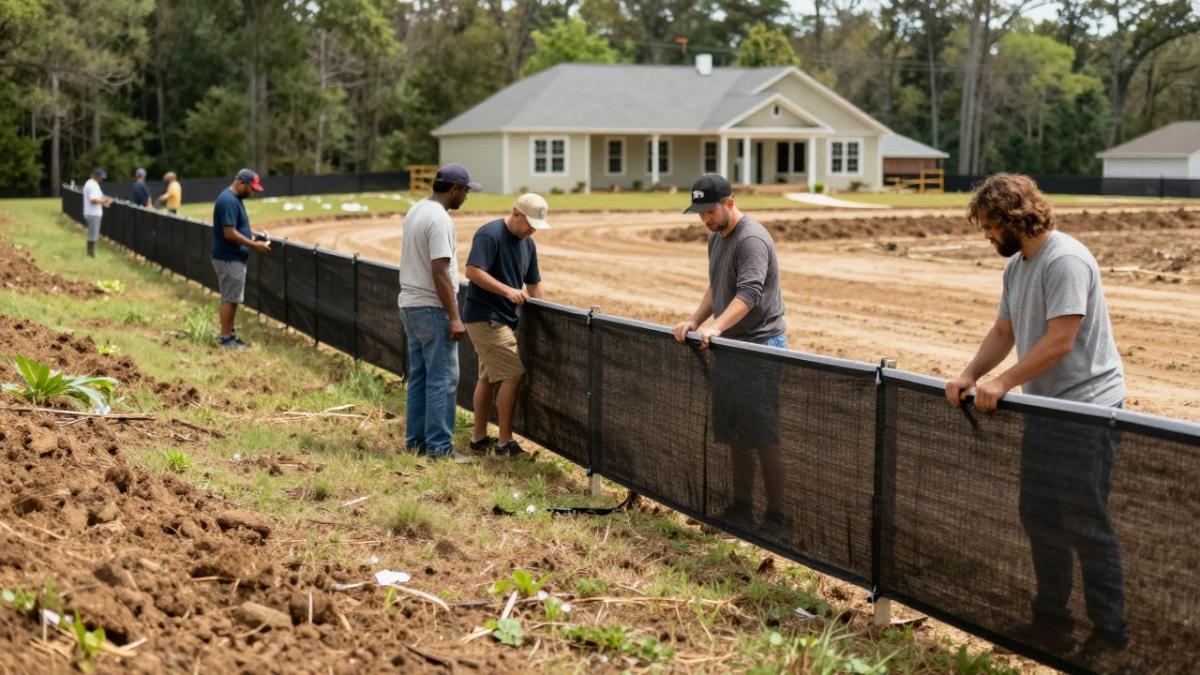
The three workhorses are silt fence, straw wattles and compost socks. They are not interchangeable, and choosing the wrong one is a common reason controls fail.
- Silt fence is a geotextile fabric stretched across wooden or steel posts and trenched into the ground. It works on sheet flow across relatively flat ground and shallow slopes. Space posts per the manufacturer's specification, bury the bottom edge at least 6 inches in a compacted trench, and keep the fabric taut so it does not sag and pond water against the posts.
- Straw wattles are mesh tubes filled with straw, typically 9 to 12 inches in diameter, staked into a shallow trench along the contour. They are best on slopes and where you need a short-term barrier that can be moved as the job progresses. Stake them every few feet and butt the ends tightly together so water cannot slip between segments.
- Compost socks are mesh tubes filled with compost filter media. They filter finer sediment than straw and hold up longer in wet conditions, which makes them useful around roof wash-down areas and material staging points where fines accumulate.
A few installation rules apply to all three. Install them before grading or tear-off begins, not after the first storm. Key them into the ground rather than laying them on the surface, because water will find the gap underneath. Leave no low spots or gaps where runoff can bypass the barrier. And never run a barrier straight across a concentrated flow path with no outlet, because the water will pond, overtop the fabric and wash out the posts.
Watch out: a silt fence placed where roof downspouts discharge will be hit by a concentrated jet of water, not sheet flow, and it will fail. Route downspout discharge to a splash block, a stabilized outlet or a vegetated area before it reaches the perimeter barrier.
On roofing projects, place perimeter controls along the downslope edge of the lot, around the tear-off dumpster and material staging area, and at any point where wash water from roof cleaning or gutter work leaves the site. Inspect the barrier line after every rain and after any day when tear-off debris was blown or tracked toward the edge. Sediment that reaches about one-third of the barrier height is the practical trigger to clean it out, because a barrier that is half full of sediment has lost most of its capacity to slow water.
The three most common perimeter barriers differ in what they handle best, so match the control to the ground and the runoff.
| Control | Best for | Key difference |
|---|---|---|
| Silt fence | Sheet flow on flat ground and shallow slopes | Geotextile fabric trenched at least 6 inches deep |
| Straw wattles | Slopes and short-term, movable barriers | Mesh tubes 9 to 12 inches in diameter, staked along the contour |
| Compost socks | Roof wash-down and staging areas | Compost media filters finer sediment and lasts longer when wet |
Soil Stabilization Techniques for Construction Slopes and Exposed Ground
Once the perimeter is secured, the exposed ground needs protection. Stabilization covers the soil so rain hits a surface that holds together. For a deeper look at prevention methods, read how to prevent soil erosion in landscaping.
Common options include:
- Mulch: Straw or wood mulch spread over bare areas to reduce impact from rain.
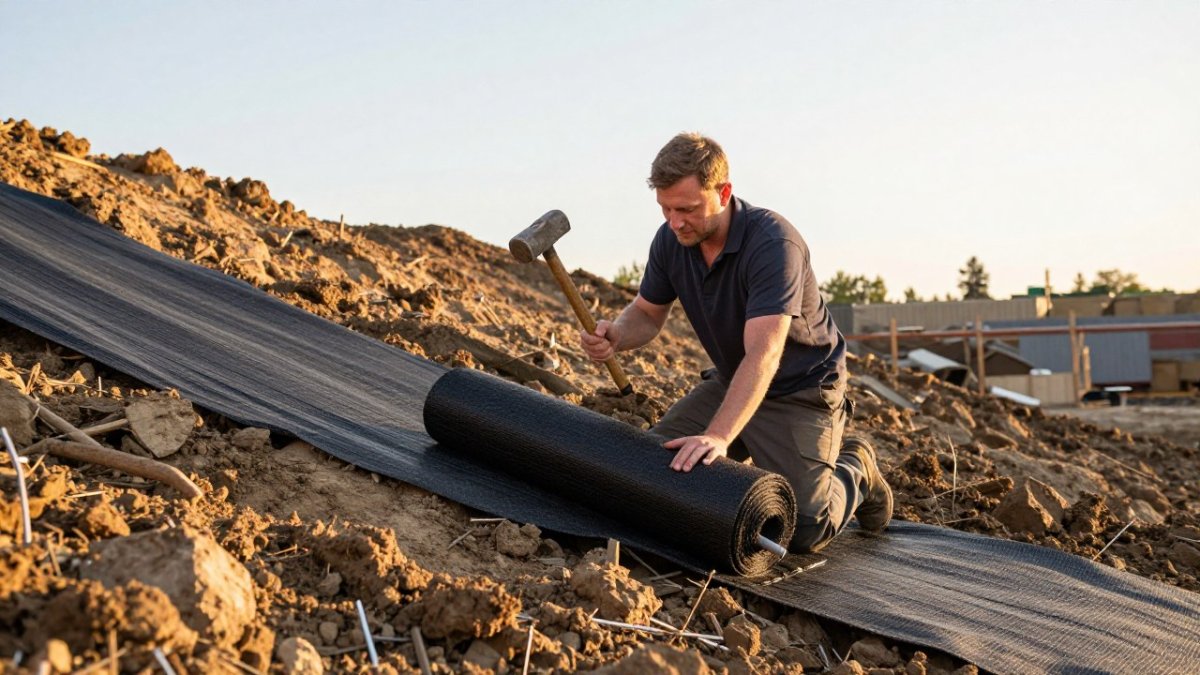
- Erosion-control blankets: Fabric or mat products pinned to slopes to hold seed and soil in place.
- Seeding and vegetation: Fast-growing grasses that establish a root system quickly.
- Terracing: Stepped benches on steep grades that break up water flow.
For slopes, pair the cover with terracing or a retaining structure where the grade is steep. A blanket alone will not hold a long, steep bank that carries heavy runoff.
Meeting Stormwater Pollution Prevention Plan (SWPPP) Requirements
Many construction projects must follow a Stormwater Pollution Prevention Plan, usually called a SWPPP. It is a written, site-specific plan that describes how the project will control runoff and sediment during construction, who is responsible for each control, and how often the controls are inspected. Under the federal Clean Water Act, the U.S. Environmental Protection Agency oversees the stormwater permit framework that applies to many construction sites, and the state administers permits at the state level (the EPA). EPA construction stormwater permitting overview
Whether a roofing project needs a SWPPP depends on the size of the disturbed area and the permit that covers the job. A full roof replacement on a large commercial building with staging, dumpsters and equipment access can cross the disturbance threshold even though the roof itself is not bare ground. A small residential repair usually will not. Because thresholds and local rules change, confirm the requirement with the local permitting office or the state agency before work starts rather than assuming a roof job is exempt.
A workable SWPPP for a roofing project typically includes:
- A site map showing drainage paths, the disturbed area, stockpile and dumpster locations, and every control.
- A list of the controls to be installed, with the installation sequence tied to the phases of the job.
- The name of the person responsible for inspections and maintenance.
- An inspection schedule and a log for recording findings and corrective actions.
- A description of how roof wash water, gutter discharge and tear-off debris will be kept out of the drainage path.
Inspection and documentation are where most SWPPPs succeed or fail in practice. Inspection timing is typically set by the permit and the plan, and should be confirmed with the permitting authority. Record the date, the inspector, which controls were checked, what was found and what was fixed. If a control is damaged or a discharge is observed, note the corrective action and the date it was completed. Keep the plan and the log on site so they can be produced on request.
Watch out: a SWPPP that is written once and never updated as the job changes, such as when a new stockpile or staging area is added, will not match what is actually on the ground, and that mismatch is one of the most common compliance findings.
For roofing work, the practical compliance moves are to keep tear-off debris covered or contained, route downspout and wash water to a stabilized outlet, and make sure the person running the inspection log knows the roof schedule so inspections happen before and after the phases that generate the most sediment.
Inspection, Maintenance and Repair Triggers for Your Controls
Controls only work when they are maintained. Set a schedule to inspect them, and check them immediately after heavy rain. Look for sediment buildup behind fences, torn fabric, washed-out areas and bare patches that have started to rill.
Useful repair triggers include:
- Sediment reaching about one-third of a barrier's height
- Visible tears, gaps or sagging fabric
- Water flowing around the ends of a barrier
- New rills or gullies forming on slopes
- Mulch or blanket cover that has blown or washed away
Repair problems quickly. A small gap left alone can become a large failure during the next storm. To diagnose the water flow behind recurring problems, see how to fix backyard drainage issues.
Scheduling Your Next Step With a Qualified Site Team
Erosion control works best when a qualified team plans it, installs it and checks it on schedule. If your Alabama project involves grading, a roof replacement or a drainage fix, talk through the site with a professional before the first shovel goes in. M7 LLC can review your lot, recommend the right perimeter and stabilization controls, and help keep the work moving while protecting the soil and your property.
Frequently Asked Questions
How do silt fences and sediment basins protect soil during construction?
Silt fences are fabric barriers staked along the downslope edge of disturbed ground. They slow runoff so sediment settles out before it leaves the site. Sediment basins collect larger volumes of runoff from a drainage area and hold it long enough for particles to settle. Both work best when installed before grading starts, kept free of gaps and overflow, and cleaned out once sediment reaches about one-third of the barrier height. Neither replaces stabilizing the soil itself, so pair them with cover and vegetation.
Why is vegetation management critical for long-term erosion prevention?
Roots hold soil particles in place and plant cover absorbs the energy of falling rain before it strikes bare ground. Once a site is graded, reseeding or planting disturbed areas as soon as work in that section is complete shortens the period of exposure. Temporary cover such as mulch or erosion-control blankets bridges the gap until permanent vegetation establishes. Monitor new growth and reseed bare patches promptly, since thin areas are where erosion usually starts.
Does erosion control on a construction site require a permit?
Requirements depend on the size of the disturbed area, local rules and the state in which the project sits. In many cases, projects that disturb a defined acreage trigger stormwater permitting under the federal Clean Water Act, which typically calls for a written stormwater pollution prevention plan. Confirm the rules that apply to your site with your local permitting office and your contractor before work begins.