 ultimate-guide
What Are the Key Steps for Residential Site Preparation?
Last Updated: October 26, 2026
Quick Summary
Residential site preparation steps include conducting a site assessment, performing a land survey, completing soil testing, obtaining permits, and executing excavation and grading. These steps establish proper drainage, verify building compliance, and create a stable foundation platform before construction begins.
- A site assessment identifies topography, drainage patterns, and constraints to prevent costly surprises during construction.
- Land surveys establish property boundaries and setback requirements to ensure building code compliance and prevent neighbor disputes.
- Geotechnical testing determines soil bearing capacity and foundation depth requirements, typically taking two to three weeks.
- Permits must be approved before excavation begins, with timelines varying from two weeks to several months by jurisdiction.
- Proper grading requires a minimum 5 percent slope to direct water away from the foundation and prevent structural damage.
Table of Contents
- Understanding Residential Site Preparation Steps
- Step 1: Conduct a Site Assessment and Initial Planning
- Step 2: Perform a Land Survey and Boundary Verification
- Step 3: Complete Soil Testing and Geotechnical Assessment
- Step 4: Obtain Permits and Meet Building Code Requirements
- Residential Excavation and Grading for Site Readiness
- Building Your Residential Site Preparation Checklist
- Site Preparation Timeline for Building a House
- Frequently Asked Questions
Understanding Residential Site Preparation Steps
At M7 LLC, we've coordinated hundreds of residential site preparation projects, and we've learned that homeowners who understand the sequence make better decisions about timing, budgeting, and contractor coordination. The difference between a smooth build and a delayed one often comes down to how thoroughly the site was prepared before construction began.
Step 1: Conduct a Site Assessment and Initial Planning
A site assessment is your first opportunity to understand what you're working with. This involves a professional walkthrough of the property to identify existing conditions, potential challenges, and opportunities.

During this phase, you'll identify critical questions: Where will the building sit? How will water drain? Are there wetlands or protected areas? Are there steep slopes that require terracing or retaining walls?
The assessment also determines whether the site requires specialized work like hazardous material remediation, demolition of existing structures, or environmental controls.
Step 2: Perform a Land Survey and Boundary Verification
A land survey establishes the exact boundaries of your property and identifies the legal limits within which you can build. This is a critical legal and practical step.
Boundary verification prevents disputes with neighbors and ensures your building complies with setback requirements, the minimum distances your structure must maintain from property lines.
This step typically takes one to two weeks from scheduling to completion. The surveyor provides a detailed site plan that becomes the blueprint for all subsequent work. Contractors use this plan to position excavation, plan drainage systems, and coordinate utility connections.
Step 3: Complete Soil Testing and Geotechnical Assessment
Soil testing determines whether your site can support the building you plan to construct. Different soil types have different bearing capacities, the weight they can safely support. Clay, sand, silt, and rock each behave differently under load and in wet conditions.
A geotechnical engineer collects soil samples from multiple depths across the property, tests them in a laboratory, and produces a report with specific recommendations.
Soil testing also reveals drainage characteristics. Poor drainage leads to water accumulation around foundations, which causes cracking, settling, and structural failure. The geotechnical report guides decisions about site grading, subsurface drainage, and foundation depth.
Step 4: Obtain Permits and Meet Building Code Requirements
Building permits ensure your project complies with local codes and zoning regulations. The permitting process requires submitting site plans, architectural drawings, and engineering reports to your local building department. Reviewers verify that your project meets setback requirements, height limits, lot coverage limits, and other zoning restrictions.
Permit timelines vary widely by jurisdiction, from two weeks to several months. Starting the permit process early prevents delays later. Many contractors won't begin site work until permits are in hand, so delays in permitting delay the entire project.
Building codes specify foundation depth, frost line requirements, and structural standards. Your site preparation must accommodate these requirements.
Residential Excavation and Grading for Site Readiness
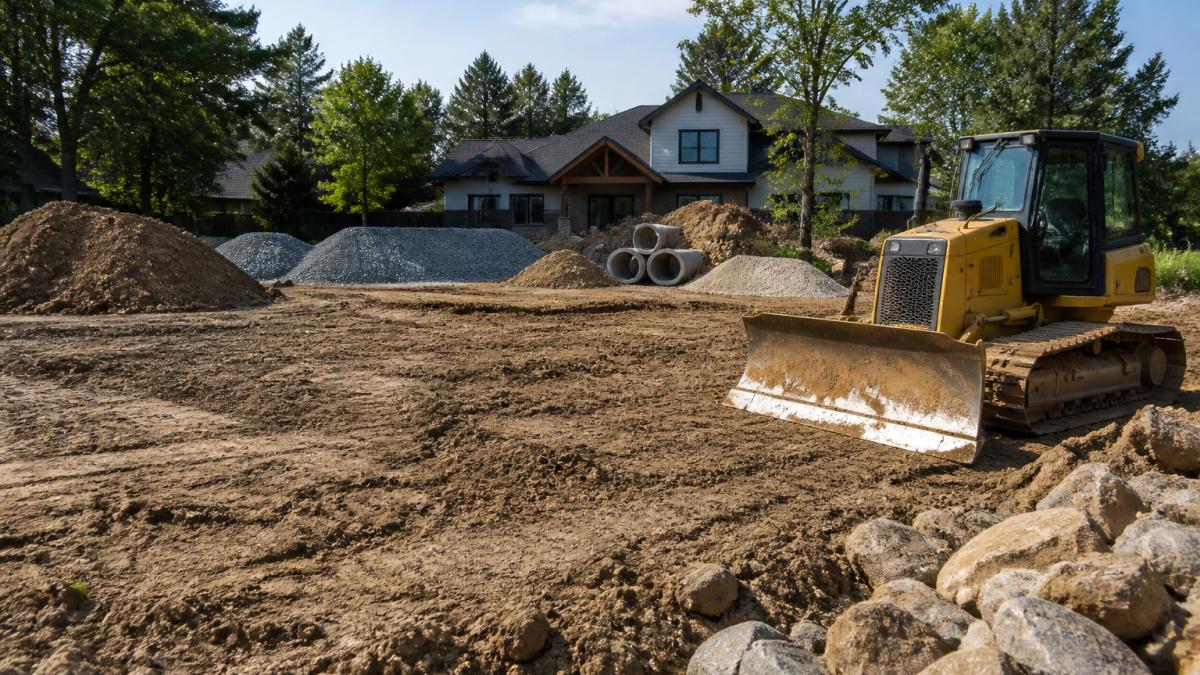
Excavation and grading transform the assessed, surveyed, and permitted site into a construction-ready platform. Book professional site excavation services to complete this critical step. Excavation removes soil to reach stable bearing layers and create the foundation footprint.
Proper grading ensures water runs away from the foundation at a slope of at least 5 percent, meaning the ground drops 5 inches in elevation for every 100 inches of horizontal distance. Learn about residential site grading services costs before deciding to hire professionals. This prevents water from pooling around the foundation, which causes seepage and structural problems. Grading also establishes proper drainage toward storm drains, swales, or retention areas.
Excavation depth depends on frost line depth, soil bearing capacity, and foundation design. The excavator removes topsoil (typically 6-12 inches), stockpiles it for later landscaping, and then excavates to the required foundation depth.
During excavation, utility lines must be carefully avoided. Before digging, call 811 to request utility locating, a free service that marks underground gas, electric, water, and sewer lines.
Building Your Residential Site Preparation Checklist
A checklist is only useful if it tells you what to verify, who owns each handoff, and what document proves the step is complete. The table below is organized around the handoffs that most often stall a residential build, especially the transition from site prep to roofing, so you can confirm each step before the next trade mobilizes.
| Phase | Task | Responsibility | What to Verify Before Sign-Off | Document to Request |
|---|---|---|---|---|
| Assessment | Site walkthrough and constraint map | Contractor or engineer | Drainage paths, slopes, trees to protect, existing structures identified | Written assessment memo with photos |
| Survey | Boundary and topographic survey | Licensed surveyor | Property corners marked, easements and setbacks shown, elevations mapped | Stamped survey plat and topographic plan |
| Soils | Geotechnical investigation | Geotechnical engineer | Bearing capacity, groundwater depth, expansive or weak soil noted | Signed geotechnical report with foundation recommendations |
| Permits | Building, grading, and erosion-control permits | Homeowner or contractor | Setbacks, lot coverage, stormwater and erosion plans approved | Approved permit set and inspection card |
| Utilities | 811 locate and private utility scan | 811 service and private locator | Public lines marked; private lines (irrigation, septic, low-voltage) located separately | Locate ticket number and private scan report |
| Clearing | Vegetation removal and tree protection | Site contractor | Protected trees fenced, root zones undisturbed, debris hauled off | Tree protection plan and disposal receipts |
| Grading | Cut, fill, and compaction | Grading contractor | Positive slope away from footprint, compaction tests at specified lifts | Compaction test results and as-built grading plan |
| Roofing handoff | Deck and flashing readiness | Framer and roofing contractor | Sheathing flat and dry, ice-and-water membrane at eaves and valleys, drip edge set | Roof inspection sign-off before shingles |
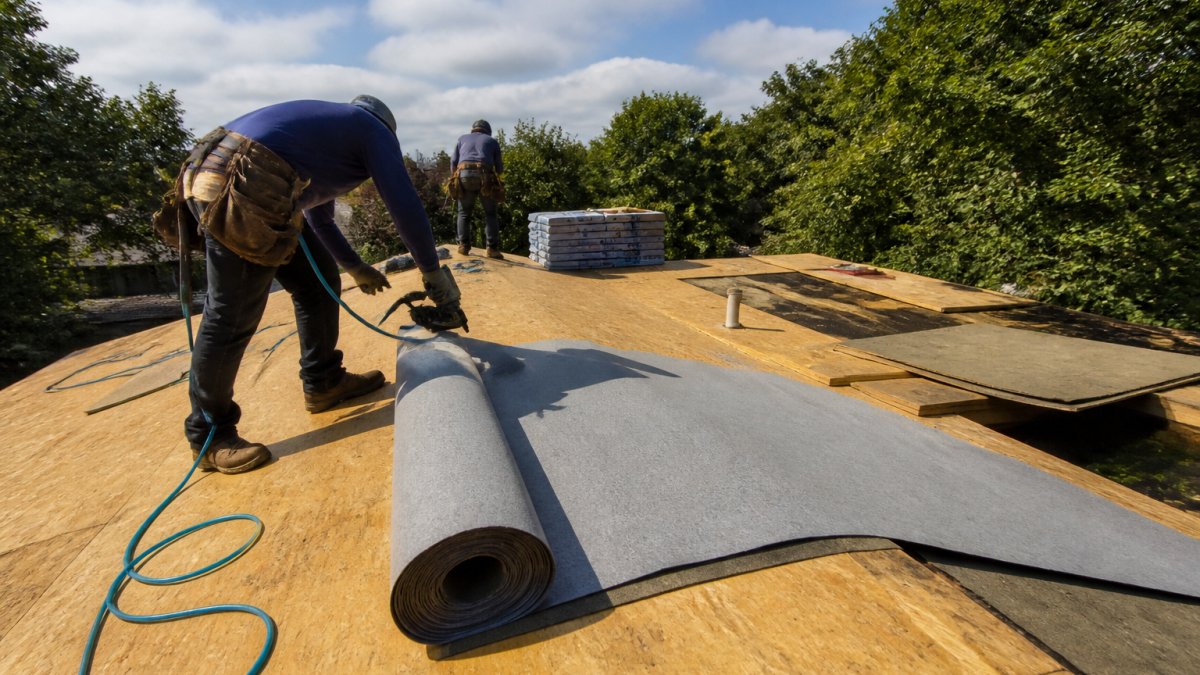
For roofing specifically, the site-prep checklist should not close until the roof deck is ready to receive underlayment. That means sheathing is dry and fastened to the engineer's schedule, roof slopes drain positively, and all penetrations for vents and flues are framed and flashed. If site grading is still open when the roofing crew mobilizes, confirm that downspout discharge and grade slopes will carry water away from the foundation, not toward it, before the first shingle goes down.
A printable version of this checklist works best when each row has a blank for the date, the responsible party's signature, and the document reference number. Homeowners who collect those three items per row end up with a complete project record that satisfies most inspectors and most roofing manufacturers' warranty requirements.
Site Preparation Timeline for Building a House
Most residential site-prep schedules land in the 8-12 week range, but the number that matters is not the total, it is which tasks can run in parallel and which ones block the roofing crew from starting.
Parallel tracks. Survey, geotechnical testing, and permit application can overlap.
Hard blockers. Excavation cannot begin until permits are approved and utilities are marked. Roofing cannot begin until the framing inspection passes and the sheathing is dry.
| Window | Activity | Depends On | Roofing Impact |
|---|---|---|---|
| Weeks 1-2 | Survey and site assessment | Access to property | Establishes setbacks and roof footprint |
| Weeks 2-4 | Geotechnical testing and permit submittal | Survey for permit package | Foundation design drives roof load path |
| Weeks 4-8 | Permit review | Complete submittal | No framing, no roofing until approved |
| Weeks 8-10 | Excavation and foundation | Permit approval, 811 locate | Sets the elevation the roof sits on |
| Weeks 10-12 | Framing and sheathing | Foundation inspection | Roof deck ready for underlayment |
| Week 12+ | Roofing | Framing inspection, dry sheathing | Dry-in protects the interior |
Weather and contingency. Excavation and compaction are the weather-sensitive steps; heavy rain can soften subgrade and force rework, and frozen ground prevents proper compaction. Build a 2-4 week contingency buffer into the schedule and place it immediately before the roofing window, not at the end of the project. That placement protects the dry-in date, which is the milestone that keeps the interior of the house from being exposed.
Permit variance. Review times vary widely by jurisdiction and by whether the submittal includes erosion-control and stormwater plans.
Frequently Asked Questions
What are the main steps involved in residential site preparation?
Residential site preparation involves seven key phases: site assessment and planning, land surveying and boundary verification, soil testing and geotechnical evaluation, permits and building code compliance, utility identification and marking, site clearing and vegetation removal, and excavation with grading and drainage setup. Each step builds on the previous one to ensure your property is ready for foundation work and construction. The sequence matters because skipping or rushing any phase can lead to costly delays, foundation problems, or permit issues later.
What should a residential site preparation checklist include?
A comprehensive residential site preparation checklist should cover: property boundary confirmation, soil composition and bearing capacity verification, utility line locations (water, sewer, gas, electric), permit acquisition and inspection scheduling, topographic survey completion, vegetation and debris removal, grading and drainage plan approval, erosion control measures, construction access routes, and staging area designation. Before breaking ground, confirm that utilities are marked, all permits are approved, soil testing is complete, and drainage plans account for stormwater runoff. This checklist prevents costly rework and construction delays.
How long does residential site preparation typically take?
Site preparation timeline for building a house typically ranges from 4 to 8 weeks for straightforward residential lots, depending on property size, soil conditions, and permit processing time. Simple sites with clear boundaries and no utility conflicts may take 4 weeks. Complex sites with poor soil, drainage challenges, or utility relocations can take 8 weeks or longer. Weather delays, permit reviews, and soil remediation can extend the timeline. Planning for contingency time prevents construction schedule slippage and helps contractors coordinate the next phases effectively.
Why is construction site drainage preparation so important?
Construction site drainage preparation prevents water accumulation, foundation damage, and erosion during and after construction. Poor drainage can cause soil instability, settling issues, and structural problems that cost thousands to repair. Proper drainage planning includes grading slopes away from the building footprint, installing stormwater management systems, and establishing sediment and erosion control measures. This protects both the construction process and the long-term integrity of your foundation and landscaping.
What permits do I need before residential site preparation begins?
Required permits vary by location but typically include a building permit, grading permit, erosion and sediment control permit, and utility marking authorization. Some areas require a site plan review, stormwater management approval, and environmental assessment if the property has wetlands or sensitive areas. Contact your local building department and planning office early in the process. Permit delays are a common cause of construction timeline extensions, so securing approvals before mobilizing equipment and crews saves time and money.
How do I prepare for residential excavation and grading?
Residential excavation and grading preparation starts with a topographic survey to map existing terrain and establish building elevations. Confirm utility locations are marked before any digging begins. Establish a site layout showing the building footprint, access roads, and staging areas. Verify soil composition and bearing capacity through testing. Develop a grading and drainage plan that directs runoff away from the foundation. Arrange equipment delivery and ensure the contractor has clear access. Proper preparation prevents utility strikes, soil instability, and rework.
What happens if soil testing reveals poor bearing capacity?
If soil testing shows inadequate bearing capacity, remediation options include soil replacement, compaction, or specialized foundation solutions like pilings or caissons. Poor soil conditions require engineering consultation and may increase project costs and timeline. This is why soil testing early in site preparation is critical, discovering problems after excavation begins creates expensive change orders and delays. Your contractor can recommend the best solution based on soil composition, property conditions, and building requirements.