 ultimate-guide
Site Preparation for Roofing: A Complete Guide
Table of Contents
- What Site Preparation Means for Roofing Projects
- Site Assessment and Property Evaluation
- Roof Replacement Preparation Checklist
- Preparing Your Property for Roof Installation
- Roofing Project Timeline and Scheduling
- Roofing Contractor Preconstruction Checklist
- Managing Risks and Unexpected Conditions
- Frequently Asked Questions
Last Updated: October 16, 2026
What Site Preparation Means for Roofing Projects
Site preparation for roofing is the process of readying your property before roof installation, replacement, or repair begins. It covers structural assessment, utility identification, debris management, and equipment staging.
Homeowners who prepare thoroughly experience fewer complications and faster completion.
A well-prepared site moves faster. Obstacles, unclear access, or unaddressed hazards create bottlenecks that ripple through the entire project.
Site Assessment and Property Evaluation
Understanding your property's condition is the foundation of effective site preparation for roofing. A thorough assessment identifies structural concerns, access limitations, and obstacles your contractor needs to know about.
Structural inspection and roof access
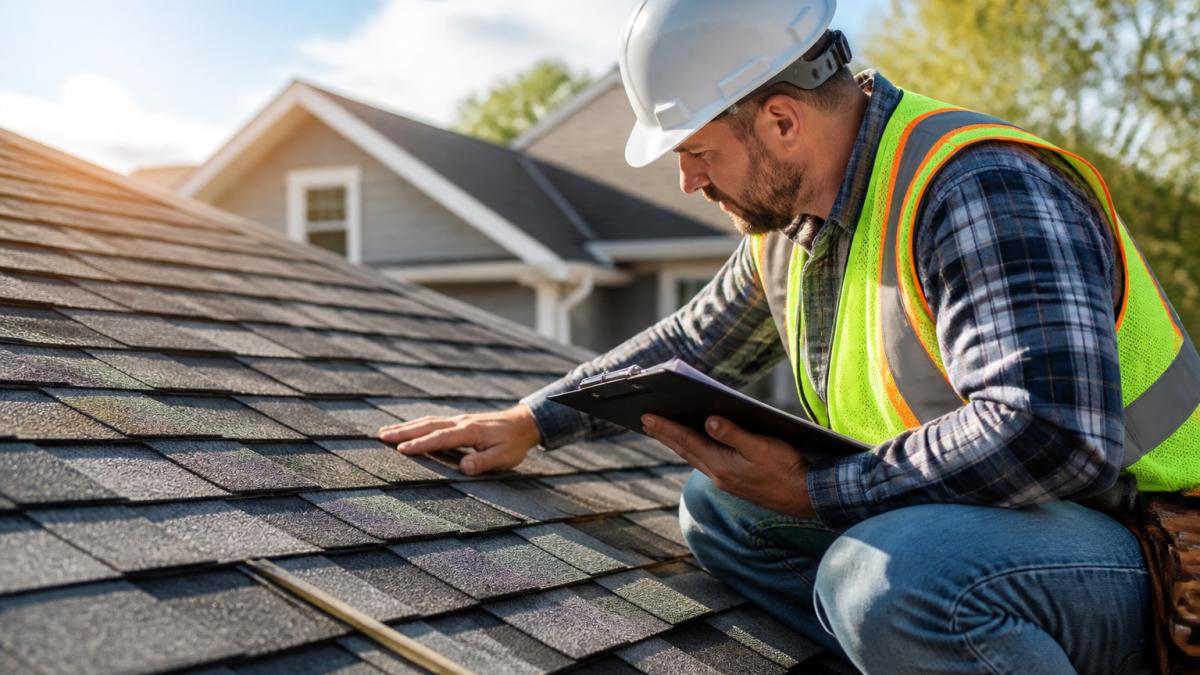
Your contractor will evaluate the roof's structure, condition, and accessibility, examining framing, decking, and existing damage.
Access matters. Some properties have limited access due to narrow side yards, dense landscaping, or nearby structures.
Identifying utilities and hazards
Before work begins, know where your utilities run. Electrical, gas, water, and internet lines may be buried or run along your roof line.
Contact your local utility locating service ("Call Before You Dig") to have utilities marked. This service is typically free and often required by law before excavation.
Identify other hazards too: overhanging branches, power lines crossing your yard, or unstable structures.
Roof Replacement Preparation Checklist
Preparing for roof replacement requires interior and exterior protection. Your home's interior needs shielding from dust and debris, while landscaping and structures need safeguarding from equipment and material staging.
Interior and exterior protection measures
Inside, close windows and doors in upper-level rooms. Cover air vents, ceiling fans, and light fixtures with plastic sheeting, and move valuables away from windows and exterior walls.
Outside, trim branches that hang over the roof or interfere with equipment.
Protect landscaping you want to preserve. Discuss protection strategies with your contractor; some use plywood or tarps to shield delicate plants and garden beds.
Landscape and debris management
Plan for debris removal. Roof replacement generates old shingles, underlayment, nails, and fasteners.
Clear gutters before work begins. Clogged gutters trap debris and prevent drainage, and clean gutters help your contractor assess the roof's condition accurately.
If you have a septic system, mark its location clearly; heavy equipment should never be driven over a septic field.
Preparing Your Property for Roof Installation
New roof installation requires different preparation than replacement. Starting fresh makes structural readiness and site access even more critical.
Access and equipment staging
Determine where your contractor will stage materials and equipment. Most crews need a flat, level area near your home, large enough for material pallets, a work trailer, and vehicle parking.
Confirm the area is accessible for delivery trucks. Check for overhead wires, low branches, or narrow passages.
Establish a clear path from the staging area to your roof. A direct, obstacle-free route keeps the project moving and reduces trips, falls, and landscaping damage.
Weather and seasonal considerations
Roof work requires specific weather conditions. Extreme heat, cold, rain, or high winds can delay or halt work.
If your area has heavy rain seasons, plan your roof installation roofing timeline to avoid them.
Check the forecast for your work window. If severe weather is predicted, your contractor may reschedule; building flexibility into your timeline ensures quality work.
Roofing Project Timeline and Scheduling
Coordinate exact start and end dates with your contractor. Confirm workdays, crew arrival and departure times, and project duration. Ask about contingencies for weather delays or unexpected damage found during inspection.
Plan for noise. Roofing work is loud, so notify neighbors in advance. If you work from home, plan to be elsewhere during peak hours, and arrange safe, quiet spaces for pets.
Roofing Contractor Preconstruction Checklist
Before work starts, verify all preconstruction requirements are met. The items below are the ones most often missed and most likely to delay a roofing project.
Permits, approvals, and who is responsible
Most roof replacements require a permit, but requirements vary by jurisdiction and scope. A like-for-like shingle replacement may be exempt in some areas, while a full tear-off, structural repair, or change in roof covering typically triggers a permit.
Responsibility is where homeowners most often err:
- The contractor typically pulls the roofing permit and schedules the inspection. This is standard because the contractor holds the license and carries the liability for code compliance.
- The homeowner is usually responsible for homeowner association (HOA) approval, historic district or architectural review board sign-off, and any neighborhood covenant requirements.
- The homeowner is also responsible for confirming that the contractor's license and insurance are current before work begins.
Ask directly: "Will you pull the permit and schedule the final inspection?" Get it in writing. If the contractor asks you to pull the permit, that is a red flag in most jurisdictions because it shifts code responsibility to you.
Utility locating and protected areas
Before any ground disturbance, roof tear-off, or equipment staging, utilities must be located. Call 811, the national Call Before You Dig number, at least two to three business days before work begins. The service is free and required by law in most states before excavation. Locators mark buried electric, gas, water, sewer, and communications lines with color-coded paint or flags.
Two things homeowners frequently miss:
- Utility marking covers buried lines, not overhead service drops. Your contractor must separately identify the overhead power drop to the house, the mast, and any communications lines attached to the roof. These are a common cause of contact injuries during tear-off.
- Protected areas on the property, such as septic fields, wells, easements, and protected trees, must be marked and communicated before equipment arrives. Heavy equipment driven over a septic field or drain field can cause damage that is expensive to repair and is usually not covered by the roofing contract.
Required inspections and documentation
Most roofing permits require at least one inspection; some require two or three. Typical points include:
- Dry-in or underlayment inspection, before the finished roof covering is installed.
- Final inspection, after the roof covering, flashing, and ventilation are complete.
- Structural or framing inspection, if the project includes decking replacement or framing repair.
Ask which inspections apply and who will meet the inspector. Keep copies of the permit, inspection sign-off, and final approval; these matter if you sell, file an insurance claim, or need to prove code compliance.
Communication and project coordination
Establish clear communication channels. Who do you call with questions? How often will you receive updates?
Discuss work site expectations: daily cleanup or only at project end, worker parking, and bathroom use. Clear expectations prevent misunderstandings.
Confirm the payment schedule, total cost, payment terms, and warranty coverage on materials and labor. Get everything in writing.
The most successful roofing projects happen when homeowners and contractors communicate clearly from the start. Establish expectations, confirm timelines, and verify all details in writing before work begins.
Managing Risks and Unexpected Conditions
Even with thorough preparation, roofing projects sometimes surface unexpected issues. Knowing how to handle them keeps your project on track and protects your investment.
Quality checks and acceptance criteria
Before the project is considered complete, several measurable checks should be performed. These are the same checks a good inspector will look for, and you can ask your contractor to walk you through them.
- Decking and substrate: Confirm that all rotted or delaminated decking has been replaced, that fasteners are set flush, and that the surface is sound before underlayment goes down. Soft spots or movement underfoot are a fail.
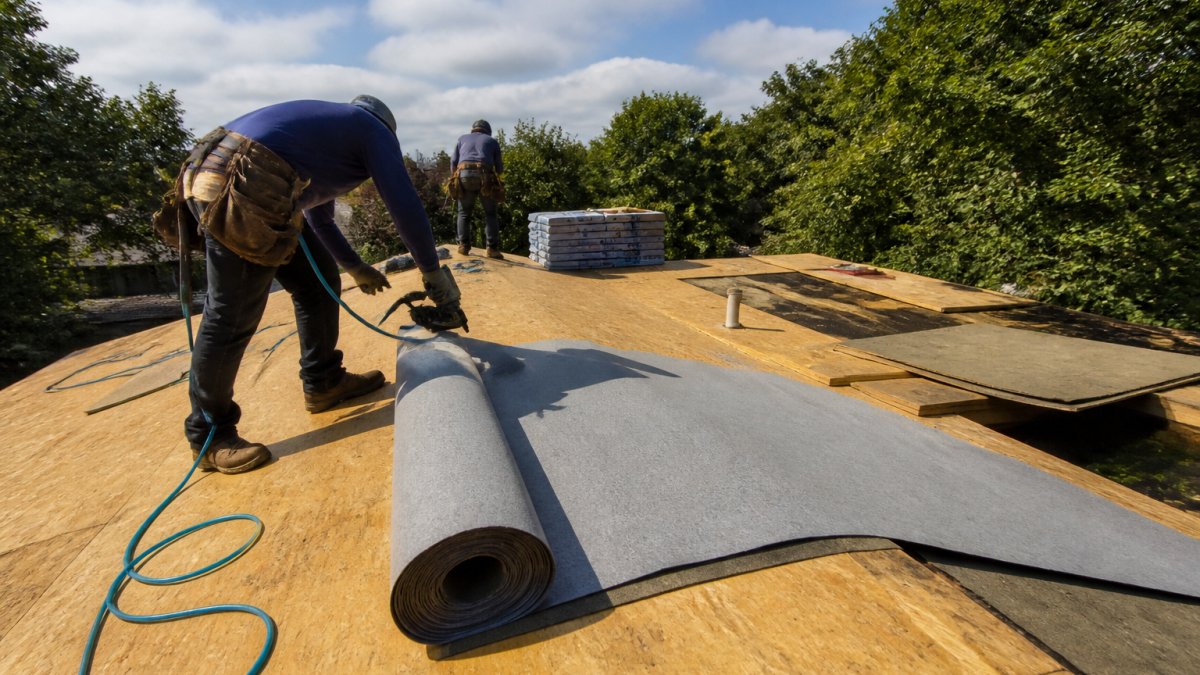
- Underlayment and flashing: Verify that underlayment laps are correct, that ice and water shield is installed in valleys and along eaves where required by local code, and that step flashing and counterflashing are properly integrated at walls and chimneys.
- Finished grade and drainage: Confirm that water sheds away from the roof edge and that gutters and downspouts discharge away from the foundation. Standing water on a flat or low-slope roof after a rain is a fail.
Documentation matters as much as the checks themselves. Keep the permit and inspection sign-off, the manufacturer's warranty registration, the contractor's written warranty, and photos of the completed work.
Structural damage and scope changes
Structural damage often emerges once the old roof is removed. Rotted decking, compromised framing, or water damage may require additional repair work beyond the original scope.
A common pattern is a written change order: the contractor documents the discovery, provides a revised scope and price, and obtains your written approval before proceeding. Ask for this process upfront.
Weather, hazardous materials, and contingency planning
Severe weather can delay your project. Ask your contractor how they handle weather-related postponements.
If your contractor discovers hazardous materials, asbestos in old shingles or insulation, for example, work must stop until proper remediation occurs.
Establish a contingency plan before work starts. Discuss potential issues, decision-making authority, and how additional costs will be communicated and approved.
Frequently Asked Questions
What does site preparation mean for a roofing project?
Site preparation for roofing involves assessing the property, protecting surrounding areas, ensuring safe access for workers and equipment, and verifying permits and utilities before work begins. This includes clearing debris from gutters, moving vehicles and outdoor items, covering landscaping, and confirming the roof structure can support installation crews. Proper preparation prevents delays, protects your property, and ensures worker safety throughout the roofing project.
What should I include in my roof replacement preparation checklist?
Your roof replacement preparation checklist should cover interior protection (moving valuables, covering furniture, sealing vents), exterior measures (protecting landscaping, clearing gutters, securing outdoor items), utility verification, and access preparation. Confirm the contractor has all permits, verify insurance coverage, establish communication protocols, and document the roof's current condition with photos. Discuss debris removal plans and confirm the project timeline to avoid surprises.
How long does roofing site preparation typically take?
Site preparation for roofing usually takes 1-3 days, depending on property size and complexity. Initial assessment and property walkthrough may take several hours. Clearing gutters, moving obstacles, and setting up protective barriers typically require a full day. For larger properties or those with significant hazards, preparation may extend longer. Your roofing contractor should provide a timeline during the preconstruction consultation.
What happens if the roofing contractor discovers unexpected conditions during site preparation?
If unexpected conditions are found, such as structural damage, utility conflicts, or hazardous materials, the contractor should halt work and notify you immediately. These discoveries may require additional permits, specialist inspections, or design modifications. Establish a process upfront for handling unexpected issues, including how costs and timeline changes will be communicated and approved. Quality contractors document findings and provide options before proceeding.
What does a roofing contractor do to protect my property before work starts?
Roofing contractors protect your property by covering landscaping with tarps, establishing debris containment barriers, placing drop cloths around the home's perimeter, and securing or removing outdoor items. They verify utility locations to avoid damage, establish safe access routes, and set up equipment staging areas away from high-traffic zones. They also discuss interior protection measures, such as sealing vents and covering HVAC units, to prevent dust and debris infiltration.
What should I move or cover before roof installation begins?
Move vehicles from the driveway and street near your home, relocate outdoor furniture, grills, and decorative items, and secure trash cans and recycling bins. Cover air conditioning units, ground-level vents, and landscaping with tarps or protective barriers. Inside, close windows and doors, cover furniture and valuables in rooms below the work area, and seal interior vents if recommended by your contractor. Clear gutters of debris and trim tree branches that overhang the roof.
How can proper site preparation help prevent roofing project delays?
Thorough site preparation prevents delays by ensuring safe worker access, confirming permits before work starts, identifying and resolving utility conflicts early, and removing obstacles that slow work. Clear communication about weather windows, material delivery schedules, and crew availability reduces scheduling conflicts. Having the property ready, cleared gutters, accessible roof areas, and protected surroundings, allows crews to begin work immediately and maintain consistent progress without interruption.
What is a roofing contractor preconstruction checklist used for?
A roofing contractor preconstruction checklist ensures all preparation steps are complete before work begins. It verifies permits are approved, insurance and licensing are current, utility locations are marked, safety equipment is staged, and property protection measures are in place. The checklist confirms communication protocols, documents the existing roof condition, establishes debris removal procedures, and outlines the project timeline. This systematic approach reduces risk, prevents delays, and sets clear expectations for all parties.